What’s Inside
- 1. Prioritize a Dynamic Warm-up for Your Calisthenics Workout Plan
- 2. Master Proper Form Over Chasing High Rep Counts
- 3. Implement Progressive Overload Systematically
- 4. Invest in Quality Home Calisthenics Equipment
- 5. Incorporate a Weighted Vest for Advanced Progression
- 6. Optimize Nutrition for Your Calisthenics Workout Plan
- 7. Prioritize Rest and Active Recovery
- 8. Record Your Sessions to Analyze Technique
- 10. Consistency and Patience Will Dictate Your Success
Last Tuesday at Target, I caught my reflection in the mirror aisle and realized my posture was completely wrecked from sitting at a desk all day editing videos. I decided to fix it immediately. I went home, tried to do a quick handstand against the drywall in my garage, slipped on a damp spot on the concrete floor, and face-planted directly into a pile of dirty, sweaty laundry. That embarrassing, dusty moment reminded me why having a structured calisthenics workout plan is necessary, even for someone who trains people for a living. You can’t just wing bodyweight training and expect to suddenly become a gymnast. I’ve spent years figuring out exactly what works, making every dumb mistake possible along the way. You don’t need a fancy gym membership to get incredibly strong, but you do need a system. Let’s get into the hard facts of building a routine that actually gets results, without the fluff or the fake fitness influencer promises.
1. Prioritize a Dynamic Warm-up for Your Calisthenics Workout Plan
I used to skip warm-ups entirely. I’d walk into the gym, drop my $45.99 Nike gym bag on the floor, and immediately try to crank out 20 pull-ups. My shoulders sounded like a bowl of Rice Krispies snapping and popping. Don’t do that. A proper dynamic warm-up is the foundation of any effective calisthenics workout plan. You need 10 to 15 minutes of actual movement before you even touch a pull-up bar. I start with 5 minutes of light jogging around my block. The smell of wet asphalt in the morning really wakes me up and gets my blood moving.
Then I grab a $14.99 SPRI resistance band I picked up at Walmart and do arm circles, leg swings, hip circles, and wrist mobility drills. Wrist mobility is huge. If you’ve ever felt that sharp, stabbing pain in your wrists during push-ups, you know exactly what I mean. Your wrists aren’t naturally used to supporting your entire body weight at a 90-degree angle. Experts say this routine increases blood flow and reduces injury risk. I just know it stops my elbows from aching during heavy dips. Learned that the hard way.
I bought a cheap $9.99 digital kitchen timer at Kroger to force myself to actually spend the full 15 minutes warming up. It’s annoying to listen to it beep, but it works. Most people get this wrong by doing static stretching before a workout. Holding a hamstring stretch for thirty seconds cold will decrease your explosive power. Save the static holds for after the workout. Keep your warm-up dynamic, bouncy, and focused on lubricating your joints.

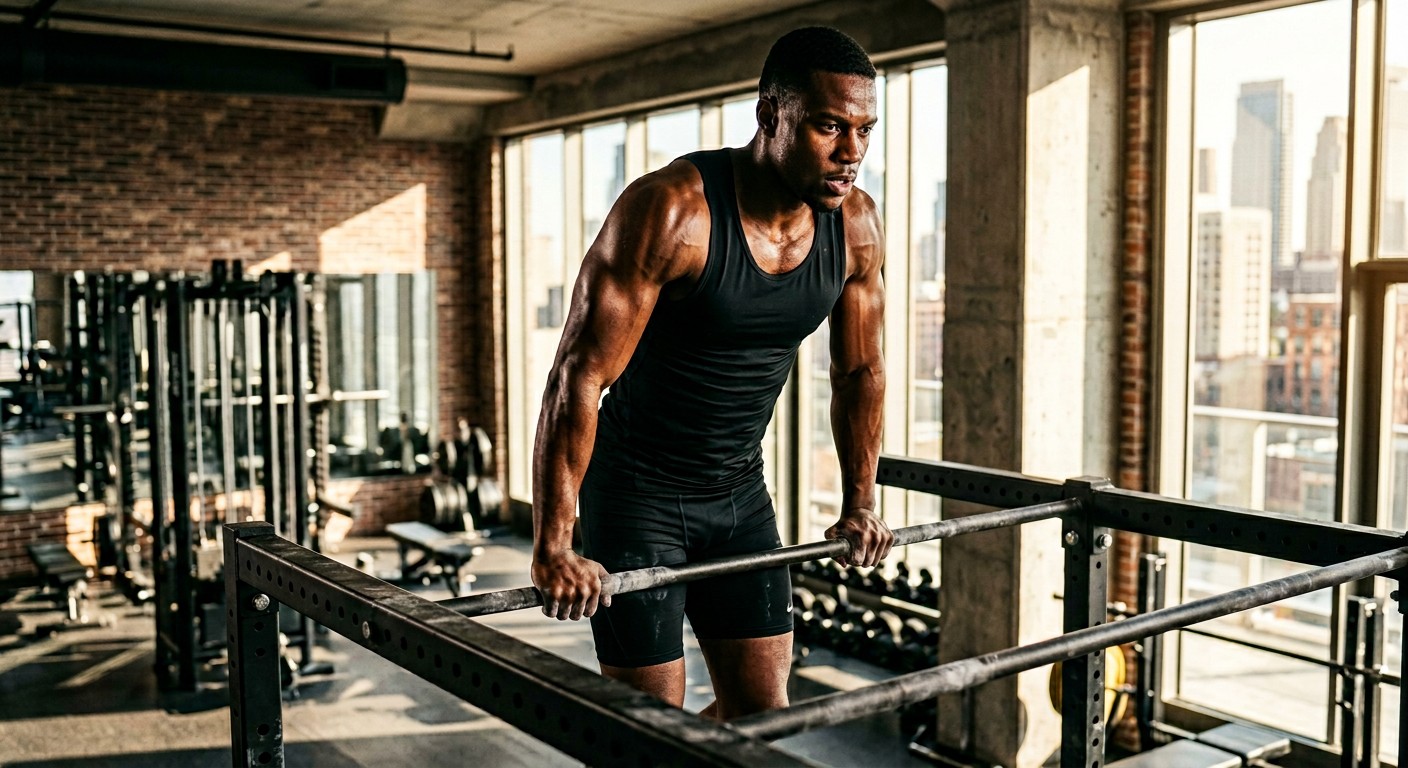
2. Master Proper Form Over Chasing High Rep Counts
We all have that ego. I remember trying to show off at a park in Austin, doing these half-rep, jerky pull-ups just to hit a set of 20. I looked ridiculous. A guy next to me was doing slow, controlled reps, locking out his arms completely at the bottom and pulling his chest all the way to the bar. He did 8 reps and looked ten times stronger than me. Focus on the perfect execution of each repetition. If you’re doing dips on a $79.99 ProsourceFit dip station from Amazon, ensure a full range of motion. Go down until your shoulders are below your elbows, then push up and lock out.
Cutting corners to get higher numbers is a massive mistake. It leads to terrible habits and ruins your joints. I tore a minor rotator cuff muscle doing sloppy muscle-ups because I cared more about the quantity than the quality. It took three months of painful rehab with a $24.95 OPTP foam roller I found at Sprouts to fix it. The dense foam felt like a rock digging into my back, but it was necessary to break up the scar tissue. Trust me on this.
Do fewer reps. Make them hurt in the right way. Your muscles don’t know how to count, they only know mechanical tension. A pro tip is to pause for one full second at the bottom of a push-up. Your chest will touch the floor, and you kill all the momentum. Pushing back up from a dead stop recruits entirely different muscle fibers and makes a standard push-up feel incredibly difficult again.

3. Implement Progressive Overload Systematically
You can’t just do 3 sets of 10 push-ups every single day and expect to look like an Olympic gymnast. Your body gets bored and stops adapting. To continuously build strength, you must gradually increase the challenge. This is called progressive overload. I learned this the hard way after plateauing for six solid months. I was stuck doing the exact same routine in my living room, drinking my $3.49 Core Power protein shake from Whole Foods, wondering why my chest wasn’t growing. You have to force adaptation.
Start by increasing reps. Once you hit 3 sets of 12 reps easily, decrease your rest periods. Drop from 2 minutes of sitting around checking your phone down to 60 seconds. You’ll feel a deep burning sensation in your muscles that lets you know it’s working. Next, use harder variations. Move from standard push-ups to diamond push-ups, or standard pull-ups to L-sit pull-ups. I bought a $19.99 set of Yes4All push-up handles at Target to increase my range of motion. Going two inches deeper on a push-up changes the entire exercise. You might also like: 15 Cozy Aesthetic Morning Workout Routine That Are Totally Worth It
Slowing down the tempo is another brutal trick. Try taking 4 full seconds to lower yourself on a pull-up. The sheer shaking in your lats will humble you instantly. This eccentric loading causes more micro-tears in the muscle, leading to better growth. Don’t change everything at once. Pick one variable to progress each week. Add one rep, shave off ten seconds of rest, or slow down your tempo by one second. Small, systemic changes add up to massive gains over a year. You might also like: 15 Brilliant Dark Basements Home Gym Setup Ideas Worth Trying This Year
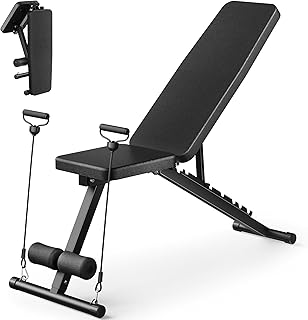
Adjustable Weight Bench for Home Gym
If you want something that just works, Adjustable Weight Bench for Home Gym is a safe bet (511 reviews, 4.5 stars).

4. Invest in Quality Home Calisthenics Equipment
You don’t need a massive gym membership, but you do need a few basic tools. I started with a cheap, flimsy doorway bar that ripped the wooden molding right off my apartment wall. That stupid mistake cost me a $350 security deposit. Learn from my stupidity. Equip your home gym with tools that won’t break your neck or your walls. A foundational piece is a sturdy pull-up bar. The Perfect Fitness Multi-Gym Pullup Bar runs about $39.99 and hooks securely into most standard doors with thick padding to protect the frame. You might also like: 15 Clever Garage Home Workout Ideas That Are Totally Worth It
If you own your place, get a wall-mounted option. The REP Fitness Mounted Multi-Grip Pull-Up Bar usually costs around $149.99 and holds 700 pounds. It’s solid steel and feels incredibly secure when you grip the knurled handles. I spent an entire Saturday afternoon finding the wall studs and drilling pilot holes, getting sawdust all over my floor, but it was worth it. You also need resistance bands. I keep a set of Rogue Fitness bands, which cost me $45.00, in my garage for assisted pull-ups and warming up my shoulders.
Parallettes are another absolute must-have. I use a $65.00 set from BaseBlocks for handstands, deep push-ups, and L-sits. The raw wooden grip absorbs sweat way better than cheap plastic handles. I actually picked up some black athletic tape for $4.50 at Walgreens to wrap the bases so they don’t slide on my concrete floor. Having this gear at home eliminates every single excuse not to train. If it’s raining outside, I just walk into the garage and get to work.

5. Incorporate a Weighted Vest for Advanced Progression
Once you can comfortably perform 12 perfect repetitions of an exercise, bodyweight alone won’t cut it anymore. That’s when you add external weight. I resisted this for a long time. I thought pure calisthenics meant no weights ever. I was completely wrong. Adding a weighted vest completely changed my physique and my raw strength levels. I picked up a 20-pound miR Weighted Vest for $129.99 online.
The first time I wore it for a set of pull-ups, the rough nylon scratched the back of my neck, and I could barely pull myself up three times. It felt like someone had strapped a heavy boulder to my back. My lats were screaming. But after a month of consistent use, my unweighted pull-ups felt incredibly light. I felt like I could fly over the bar. The Hyperwear Hyper Vest PRO is another great option, though it’s pricier at around $229.99 depending on the weight you choose. It hugs your torso very tightly so it doesn’t bounce around and hit you in the chin when you do explosive push-ups.
I usually wear a thick $12.00 Hanes cotton t-shirt underneath my vest to prevent nasty chafing on my shoulders. Weighted vests are trending right now for a very good reason. They allow for progressive overload in squats, lunges, and dips without needing a massive barbell setup in your garage. Start light. Add just 5 pounds at first. Your joints need time to adapt to the extra load just as much as your muscles do.
6. Optimize Nutrition for Your Calisthenics Workout Plan
You can train like an absolute beast, but if your diet consists of frozen pizzas and cheap beer, you won’t see results. I spent my early twenties eating garbage and wondering why I couldn’t hold a front lever. I was carrying around fifteen extra pounds of fat that made every bodyweight movement infinitely harder. Fuel your body with a balanced macronutrient intake to support your calisthenics workout plan. You need 1.6 to 2.2 grams of protein per kilogram of body weight daily.
I weigh 180 pounds, so I aim for about 160 grams of protein. I buy the massive $24.99 bag of frozen chicken breasts at Costco and grill them on Sundays. The smell of charred chicken fills my whole house, but it preps me for the week. Skip the fat-free stuff. It tastes like wet cardboard and leaves you hungry an hour later. Get 40 to 60 percent of your calories from complex carbohydrates for sustained energy. I eat exactly 1/2 cup of Quaker oats, which cost $5.49 at Kroger, every single morning with a handful of fresh blueberries.
You also need 20 to 30 percent healthy fats for hormone production and joint health. I grab a $7.99 jar of Justin’s Almond Butter from Trader Joe’s and eat a tablespoon right out of the jar before bed. The thick, sticky texture is amazing. A common mistake is under-eating. If you’re constantly sore and fatigued, you probably aren’t eating enough calories to recover. Track your food for one week using a free app. You’ll be shocked at how little protein you’re actually getting.

Adjustable Weight Bench
A dependable everyday pick — Adjustable Weight Bench – 1000LBS Capacity Heavy Duty Foldable Workout pulls in 168 ratings at 4.5 stars. Not flashy, just solid.

7. Prioritize Rest and Active Recovery
More is not always better. I used to train seven days a week, thinking rest days were for lazy people. I ended up with chronic elbow tendonitis and a resting heart rate that felt like I was constantly drinking espresso. I couldn’t even sleep because my nervous system was so fried. Adequately resting is as crucial as the workouts themselves. You need 7 to 9 hours of quality sleep per night. That’s when your body actually repairs the microscopic muscle tears and builds new tissue.
I bought a $15.99 sleep mask from Target because the bright streetlights outside my window were keeping me awake. It’s black silk and feels slightly ridiculous to wear, but I sleep like a rock now. Incorporate at least 2 dedicated rest days per week. On these days, I do active recovery. I’ll take a 30-minute walk through my neighborhood or spend 20 minutes on my $29.99 Manduka yoga mat doing deep stretches. The dense rubber of the mat supports my knees perfectly on hardwood floors.
Active recovery promotes blood flow and helps flush out lactic acid without overtaxing your central nervous system. I also use a $19.99 spiky massage ball from Amazon to dig into my tight shoulder blades. It hurts intensely for about ten seconds, a sharp, biting pain, but the relief afterward is amazing. Don’t skip your rest days. Your muscles grow when you’re sleeping on the couch, not when you’re sweating on the pull-up bar.

8. Record Your Sessions to Analyze Technique
You probably think your form is perfect. I guarantee it’s not. I always thought my handstands were perfectly straight and visually impressive. Then I finally set up my phone against a $3.99 plastic water bottle at the park and hit record. When I watched the video back, I looked like a bent banana. My hips were sagging, my core was loose, and my shoulders were completely out of alignment. It was an ugly reality check that crushed my ego instantly.
Recording your sessions is the fastest way to fix bad technique. You don’t need a fancy camera setup or a tripod ring light. I bought a $16.99 UBeesize flexible tripod from Amazon that wraps around tree branches or pull-up bars. I just clamp my phone in, hit record, and do my set. Watching the playback lets you see exactly where you’re cutting corners. Are you really locking out your elbows on those dips? Is your chin actually clearing the bar on pull-ups, or are you craning your neck back to fake it?
It’s incredibly hard to tell when you’re in the middle of a grueling set, sweat is dripping into your eyes, and your heart is pounding loudly in your ears. Reviewing the footage forces you to be brutally honest with yourself. I delete the videos right after so they don’t eat up my phone storage. Make it a habit to film at least one working set of your primary exercise every single week to ensure you aren’t developing bad motor patterns.

10. Consistency and Patience Will Dictate Your Success
You aren’t going to master a front lever in three weeks. Calisthenics requires a level of patience that most people simply don’t have in the era of instant gratification. I spent eight straight months trying to learn the human flag. Eight months of grabbing a cold vertical pole, kicking my legs up, and immediately falling back down like a heavy sack of potatoes. My obliques were constantly bruised and tender to the touch.
But I kept showing up. I wrote my routine down in a $5.99 black Moleskine notebook I grabbed from Barnes & Noble, and I tracked every single miserable attempt. I still have the sweat-stained pages. Eventually, my nervous system figured it out, the muscle memory clicked, and I held it perfectly horizontal for three seconds. It felt incredible. Consistency is the only real secret here. You have to put in the reps when you’re tired, when it’s raining outside, and when you’d rather be sitting on the couch eating a $6.49 family-sized bag of Doritos from Walmart.
Stick to the basic movements. Perfect your push-ups, pull-ups, dips, and bodyweight squats. Don’t get distracted by fancy Instagram tricks or crazy flipping routines until you’ve built a solid foundation of raw strength. Your tendons and ligaments adapt much slower than your muscles do, but they do adapt if you give them a consistent, challenging stimulus over time. Show up, do the work, and the results will follow.
Building a strong foundation with your own body weight is the most rewarding physical challenge I’ve ever taken on. It requires zero fancy machines, just grit, a little bit of floor space, and absolute consistency. I highly recommend starting with just three days a week, focusing entirely on your form before adding any crazy volume or weighted vests. If you found this breakdown helpful, make sure to pin this article or save it to your bookmarks so you can reference these exact tips before your next session. Now grab a pull-up bar, chalk up your hands, and get to work.

Frequently Asked Questions
How many days a week should I do a calisthenics workout plan?
Start with 3 to 4 days a week. This gives your muscles enough stimulus to grow while allowing 48 hours of recovery between sessions. Training every single day usually leads to joint pain and central nervous system burnout.
Can I build muscle with just bodyweight exercises?
Absolutely. Your muscles don’t know the difference between a barbell and your own body weight. As long as you use progressive overload, slow down your tempo, and eat enough protein, you will build serious muscle mass.
What is the best equipment for a home calisthenics workout plan?
You only need three basic items: a sturdy pull-up bar, a set of wooden parallettes for dips and handstands, and resistance bands for warming up and assisting with difficult pulling movements. Keep it simple.
When should I start using a weighted vest?
Wait until you can perform 12 to 15 strict, perfect repetitions of a bodyweight exercise like pull-ups or dips. Once bodyweight feels too easy, add a 10 or 20-pound vest to force your muscles to adapt to the new load.