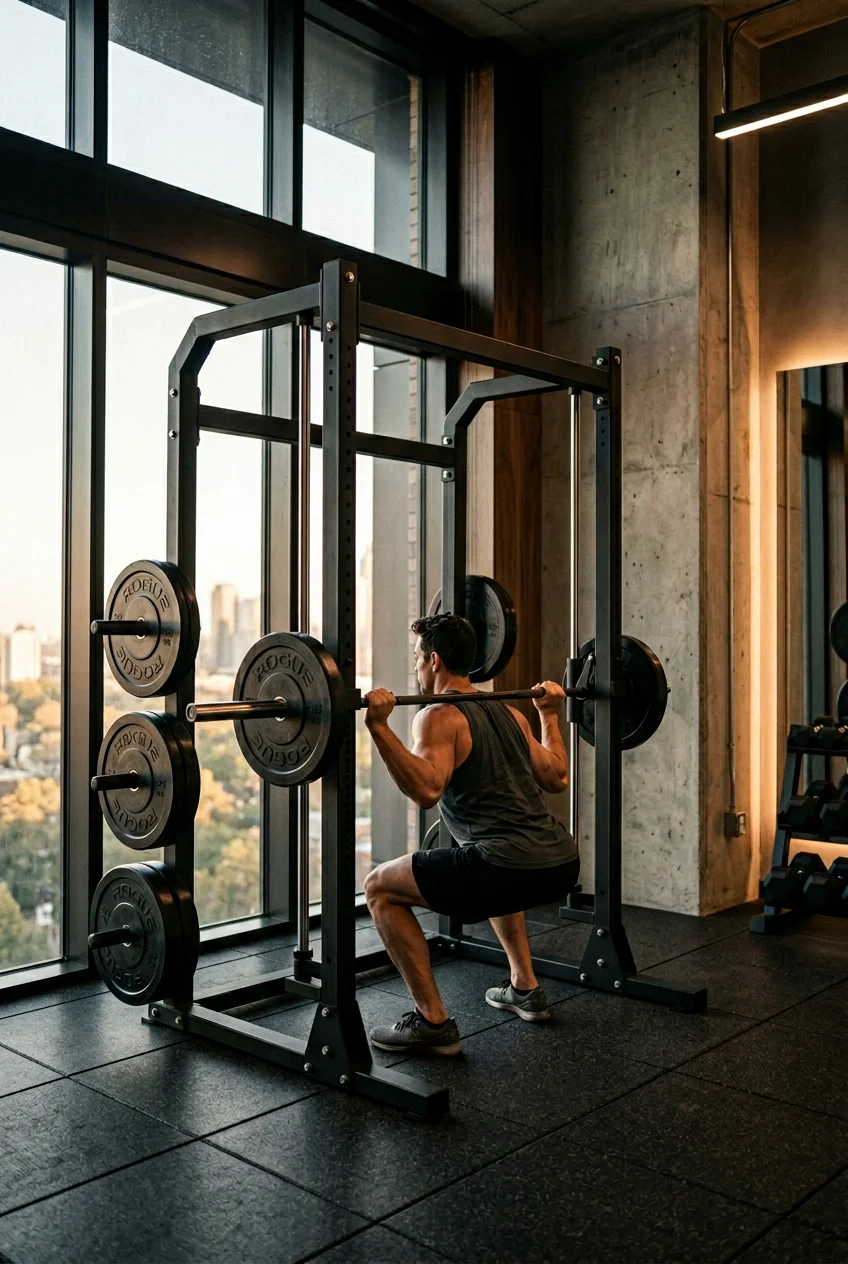
What’s Inside
- Set Your Safety Stops For A Solo Smith Machine Workout
- Fix Your Foot Placement For Squats
- Isolate Muscles For A Hypertrophy Smith Machine Workout
- Build Glutes With Heavy Hip Thrusts
- Face The Right Way On Angled Machines
- Mix With Free Weights For A Balanced Routine
- Master The Romanian Deadlift (RDL)
- Upgrade Your Home Gym With Rack Attachments
Last Tuesday at Whole Foods, I grabbed a $4.99 kombucha and realized my quads were too fried to push the shopping cart. That deep, shaking muscle fatigue came from a brutal smith machine workout I did an hour prior. For years, I avoided this specific piece of equipment. I thought it was just a giant coat rack for gym bros who couldn’t balance a real barbell. I’m an idiot for waiting so long to use it properly. I used to be a free-weight purist. If it wasn’t a rusty barbell, I didn’t want to touch it. But after dealing with nagging lower back pain and realizing I couldn’t safely push to absolute failure without a spotter, my perspective shifted. I started experimenting with the guided rails. I learned quickly that most of the hate comes from people who just don’t know how to set it up. They stand wrong, they face the wrong direction, and they try to mimic barbell mechanics perfectly. You can’t do that. You have to adapt to the fixed path. Once you learn the quirks, it’s an unbelievable tool for isolating muscle groups, safely training to failure, and packing on dense muscle mass. I’ve spent the last six months testing different setups, foot placements, and attachments. Some were a complete disaster, but others completely changed my leg days. If you’re tired of waiting for the squat rack or just want to add safe volume to your routine, this is for you.
1. Set Your Safety Stops For A Solo Smith Machine Workout

I’ve been pinned under a 225 lb barbell before. It’s terrifying. The cold knurling digging into your chest while you panic is a sensory nightmare. That won’t happen here if you take ten seconds to prepare. Always set the adjustable safety catches just below your lowest point of movement. Certified personal trainer Kristen Hislop points out that the fixed rail system makes it way safer for heavy lifting without a spotter. For squats, drop the heavy steel safety bars a few inches below your lowest squat depth. I bought a cheap $12.99 spiral notebook at Target just to track my safety pin holes for different lifts. It’s annoying to guess every single time you train. The loud metallic clank of the bar hitting the safeties is the best sound in the world when you’re completely exhausted. I always wipe down the bar with a sanitizing wipe because it usually smells like stale sweat and chalk from the last guy. If you’re doing a bench press, set the bar at a height that lets you unrack it with your arms fully extended from a seated position. Don’t set it at eye level. I did that for months and strained my rotator cuff trying to unhook the latches. Aim for mid-to-lower chest level. You can actually push to absolute failure on a solo smith machine workout because those heavy steel stoppers catch the bar when your triceps inevitably give out. It’s incredibly freeing to know you won’t get crushed. I push my sets until I literally can’t move the bar another inch. When my muscles fail, I just twist my wrists, lock the hooks, and slide out from underneath.
2. Fix Your Foot Placement For Squats

Most people get this wrong right out of the gate. I completely botched my foot placement the first time I tried squatting on this rig. I stood with my feet directly under the bar, exactly like a standard free-weight squat. My knees screamed in agony. The friction of the vertical bar path forced my torso completely upright and jammed my patellar tendons. Don’t do this. Instead, walk your feet forward about 6 to 12 inches. It feels incredibly weird at first. You’re leaning back against the cold steel bar like a trust fall. But this forward stance allows for a much more natural movement path. It heavily targets the quadriceps and glutes while taking the sheer force off your lower back. I wear my flat-soled Converse Chuck Taylors ($65.00) for this so my heels don’t shift. The rubber flooring at my gym is slightly textured, which helps my Chucks grip even better. If you’re wearing squishy, thick-soled running shoes, you’ll slide right out from under the weight. I saw a guy slip doing exactly this at a commercial gym near Sprouts last month. It wasn’t pretty, and he bruised his tailbone badly. Proper foot placement is the only way to maintain stability and distribute the 45 lb iron plates evenly. I like to imagine pushing the floor away with my heels. When you push up from the bottom of the squat, the quad pump is instantaneous. I’ve never felt my vastus lateralis fire so hard. It’s a completely different sensation than a standard barbell squat, and it isolates the teardrop muscle in your quads better than almost anything else I’ve tried.
3. Isolate Muscles For A Hypertrophy Smith Machine Workout

The fixed bar path gets a lot of hate from traditional powerlifters. They say it’s cheating because you don’t use stabilizer muscles to balance the load. They’re entirely missing the point. When you want raw muscle growth, taking stabilizers out of the equation is exactly what you want. It’s pure mechanical tension focused directly on the target muscle group. I use this specific machine for heavy seated shoulder presses. I load up 2.5 lb or 5 lb micro-plates from Rogue Fitness (they run about $17.50 a pair) to slowly bump up the weight week by week. Because the bar can’t sway forward or backward, my front delts take 100% of the load. I use a slightly wider than shoulder-width grip, wrapping my thumbs firmly around the knurling. Staring in the mirror, you can actually see the striations in your front deltoids working because your body isn’t violently shaking to keep the weight steady. It’s a surreal visual. I don’t have to worry about dropping a heavy dumbbell on my skull when my arms turn to jelly. I’ve noticed massive hypertrophy gains in my upper chest doing incline presses this way too. Skip the ego lifting. Focus on the deep stretch at the bottom of the movement. A common mistake is locking your elbows aggressively at the top of the press. Maintain a slight bend instead. It prevents joint strain and keeps constant tension on the muscle belly. It burns like crazy, but that’s the whole point of hypertrophy training. I also love doing slow, controlled negatives. Taking four full seconds to lower the bar while the tracks keep it perfectly steady creates ridiculous muscle damage for growth. You might also like: 15 Clever Garage Home Workout Ideas That Are Totally Worth It
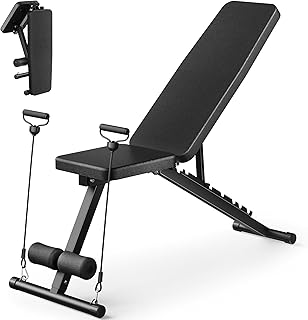
Adjustable Weight Bench for Home Gym
Adjustable Weight Bench for Home Gym punches above its price — 551 buyers rated it 4.5 stars. I would buy it again.
4. Build Glutes With Heavy Hip Thrusts

Setting up a barbell hip thrust with free weights is a miserable experience. Rolling a loaded bar over your shins, scraping your skin, and trying to balance it on your pelvis while wedging your shoulders onto a bench is just awkward. The guided rails solve all of this instantly. The fixed path makes it ridiculously easy to load heavier weights safely. I load up three 45 lb plates per side and just unrack it with a slight hip rotation. I make sure the bench behind me is exactly 16 inches high. Any taller and it digs into my shoulder blades awkwardly. But listen to me carefully. You absolutely must use a thick foam pad. I bought the RitFit Barbell Pad on Amazon for $15.99. It’s thick, dense foam with a secure velcro closure. If you don’t use a pad, the metal bar will bruise your hip bones instantly. I tried using a rolled-up yoga mat once when I forgot my pad. It compressed to the thickness of wet cardboard and I had deep purple bruises across my waist for a week. The fixed track lets you focus entirely on the hard glute squeeze at the top. This raw glute activation carries over perfectly to improving your deadlift lockout strength. I drink 16 oz of water mixed with a scoop of Liquid IV Lemon Lime electrolytes beforehand. The citrus flavor cuts through the dry mouth you get when breathing heavy, because heavy thrusts will make you sweat buckets. I usually do sets of 12 to 15 reps here. The pump is intense, and the machine keeps the bar from tilting sideways if one glute is slightly stronger than the other. You might also like: 20 Lovely Aesthetic Home Morning Workout Routine to Inspire Your Next Project
5. Face The Right Way On Angled Machines

Not all of these racks go straight up and down. Many commercial gyms buy the angled versions instead. The rails sit at a slight 7-degree incline. I honestly trained facing the wrong direction for an entire year before a seasoned bodybuilder corrected me. It’s embarrassing to admit. I was at a massive LA Fitness when I realized my mistake. The fluorescent lights were glaring down as I struggled to press 135 lbs. If you’re using an angled track, you must ensure your body faces away from the direction of the bar’s angle for exercises like squats and presses. Think about a natural free-weight barbell path. When you bench press, the bar naturally drifts slightly backward toward your face as you push up. If you lay on the bench facing the wrong way on an angled machine, you’re forcing your shoulders to push the bar down toward your belly button. It creates horrible biomechanical misalignment and grinds your shoulder joints. I bought a cheap $5.00 neon green plastic protractor from Walmart just to prove this angle to a stubborn client once. It matters tremendously. Facing the wrong way increases the risk of joint injury and makes the lift feel stiff and unnatural. Always check the slant before you load your plates. Stand to the side of the rack and look at the vertical poles. Whichever way they lean back, that’s the direction your head should point when you lay down for a press. Getting this right fixed my shoulder clicking instantly. I haven’t needed an ice pack since. You might also like: 15 Stunning Room Home Workout Ideas That Make a Real Difference
6. Mix With Free Weights For A Balanced Routine

You can’t just abandon dumbbells entirely. While the guided rails offer incredible stability and muscle isolation, you’ll develop weak stabilizer muscles if this is the only equipment you use. Certified personal trainers Kristen Hislop and Tyler Read both drill this into their clients. Free weights are absolutely essential for functional strength in the real world. I like to structure my leg days with a hybrid approach to get the best of both. I’ll do heavy barbell back squats in a regular open power rack first. I’ll grab a heavy 80 lb dumbbell for one-arm rows until my lats are screaming and sweat is dripping off my nose onto the black rubber mats. Then I move to the machine. I drop my gym bag, chug 8 oz of my $32.00 Optimum Nutrition amino acid powder, and grind out high reps of Bulgarian split squats. The machine holds me upright when my balance is totally shot. It’s the perfect brutal finisher. Using both methods gives you the heavy compound stabilization from free weights, plus the targeted, safe hypertrophy from the fixed rails. It’s the best of both worlds. Don’t fall into the trap of picking just one side of the gym. I used to mock the machines, and my muscle growth stalled for two years. Once I started blending heavy dumbbell rows with machine presses, my physique changed completely. You need the raw instability of free weights to keep your joints honest, and the locked-in focus of the machine to push past failure without face-planting.

FLYBIRD WB2 Weight Bench
FLYBIRD WB2 Weight Bench has been one of the most consistently praised picks in this category. 215 reviewers averaged 4.5/5.
7. Master The Romanian Deadlift (RDL)

The Romanian Deadlift is notorious for causing intense lower back pain if your form slips even a fraction of an inch. Using the fixed track for RDLs changed how I train hamstrings forever. Because the bar path is literally locked in place, you don’t have to worry about the weight drifting away from your shins and pulling your lumbar spine out of alignment. You just focus on hinging at the hips and pushing your glutes backward to the wall behind you. I lower the bar to about mid-shin level until I feel a massive stretch in my hamstrings. I take my shoes off completely for RDLs. Lifting in just my black cotton socks lets me feel the floor and keep my weight shifted perfectly into my heels. I also use lifting straps for these. I bought a pair of Harbinger padded cotton lifting straps for $14.49 at Kroger of all places, right in their small random fitness aisle. My grip always fails before my hamstrings do. Wrapping the straps around the knurling lets me hold onto 225 lbs for sets of twelve without my forearms cramping up. A common mistake here is locking your knees out completely straight. Keep a soft, 15-degree bend in your knees the entire time to protect the joint capsule. I also pause for a full second at the bottom of the stretch. The machine keeps the bar from swinging, so you can really sink into that deep hamstring tension. The next day, getting out of bed or walking down stairs is a hilarious struggle.
8. Upgrade Your Home Gym With Rack Attachments

Building a home gym in your garage gets expensive incredibly fast. Dedicated standalone units easily range from $999.00 to over $1,899.00. Brands like Marcy make massive all-in-one systems like the Marcy Deluxe Smith Cage SM-7553, but they take up half a room. I don’t have that kind of floor space next to my lawnmower and bulk paper towel boxes from Costco. Here’s a massive money-saving secret for home gym owners. If you already own a standard power rack, look into a bolt-on attachment. Brands like Bells of Steel sell a specific Smith Machine Rack Attachment that bolts directly onto the uprights of your existing cage. It comes with linear bearing rails and heavy-duty safety catches. It usually costs $1,000 less than buying a standalone unit. The boxes from Bells of Steel were incredibly heavy and covered in nylon strapping. I had to use a box cutter just to get to the steel parts. I applied a thin layer of 3-IN-ONE multi-purpose oil ($4.48 at Home Depot) to the guide rods. It uses a dedicated 36 lb bar that glides smoothly up and down the freshly oiled guide rods. I installed one last month. It took me three hours and a lot of swearing at the instruction manual, but it bolted on perfectly. Now I can do heavy, assisted lifts in my garage safely without needing my wife to spot me. It’s the smartest $350.00 I’ve spent on my home setup. It even lets me do assisted pull-ups by setting the bar high and resting my toes on it.
Look, I get the hesitation. The fitness industry loves to bash guided machines. But if you’re serious about building muscle safely, you can’t ignore the benefits. The isolation, the safety catches, and the ability to train to absolute failure without a spotter are unmatched. I personally swear by blending these locked-in movements with my standard free-weight routine. It keeps my joints happy and my muscles growing. Honestly this changed how I approach leg day entirely. If you’re still skeptical, just try the forward-stance squats or the heavy hip thrusts next time you’re at the gym. I promise you’ll feel the difference in your quads and glutes the next morning. Pin this article or save it to your phone for your next gym session so you don’t forget the safety setups and foot placements. Now go load up some plates and get to work.
Frequently Asked Questions
Is a smith machine workout good for building muscle?
Yes, it’s excellent for hypertrophy. The fixed bar path removes the need for stabilizer muscles, allowing you to focus pure mechanical tension directly on the target muscle group and safely push to absolute failure.
How much does the bar on a Smith machine weigh?
It varies by brand, but most commercial Smith machine bars weigh between 15 and 25 lbs due to the counterweight system. However, some home gym attachments, like those from Bells of Steel, use a dedicated 36 lb bar.
Why do my knees hurt during Smith machine squats?
You’re likely standing with your feet directly under the bar. Because the bar path is fixed, this forces an unnatural upright posture that strains the patellar tendons. Walk your feet forward 6 to 12 inches for a safer stance.
Can I use a Smith machine if I don’t have a spotter?
Absolutely. That’s its biggest advantage. By properly setting the adjustable steel safety catches just below your lowest range of motion, you can train safely to muscle failure without worrying about getting crushed by the weight.
