What’s Inside
- Master The Sequence First For Your Rowing Machine Workout
- Stop Chasing Split Times And Learn What /500m Means
- Track Your Watts Instead Of Calories
- Fix The Early Open On Your Drive
- Stop Bending Your Knees Too Early On The Recovery
- Get A Real Chest Strap For Your Rowing Machine Workout
- The 20-Minute HIIT Protocol
- Disconnect Stroke Rate From Your Actual Intensity
- Combine Rowing With Dumbbell Circuits
I spent most of 2018 walking around with lower back pain because I treated the erg like a lawnmower. If you want a rowing machine workout that actually works, you’ve got to stop yanking the handle with your arms. I learned that the hard way last Tuesday at Target. I was standing under those harsh, humming fluorescent lights in the pharmacy aisle, buying a heavy, three-pound bag of Dr. Teal’s Epsom salts for $6.49. My lower back was throbbing so badly I could barely carry the bag to the register. I hurt myself because I tried to ego-row a 5K the day before, and my form completely broke down at minute ten. The machine felt like it was fighting me. You can’t just sit down and pull. It’s a highly technical movement. I’m going to break down exactly how to fix your form and program your sessions so you actually burn calories instead of just wrecking your lumbar spine. Let’s get into the exact mechanics you need to master.
1. Master The Sequence First For Your Rowing Machine Workout

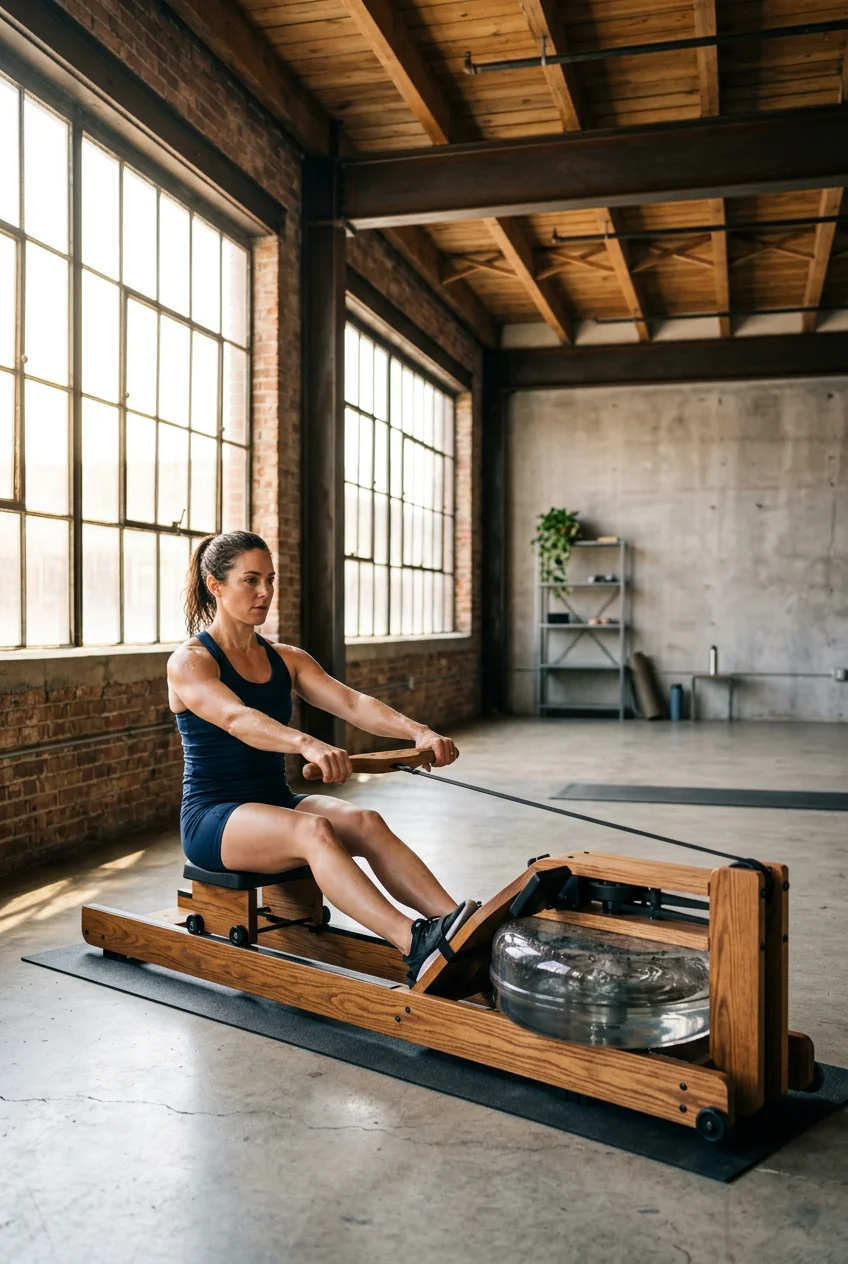
Before you even look at the digital monitor, you’ve got to understand the physical sequence of the stroke. The movement is legs, core, arms. That’s the only correct order. On the way back in, it’s arms, core, legs. I tried this wrong for months before figuring it out. I’d just yank the handle to my chin and bend my knees immediately. My elbows flared out wide. It felt terrible. You’re supposed to engage 86 percent of your muscles on a proper stroke, but most beginners isolate their biceps and wonder why they’re exhausted in three minutes. A standard Concept2 RowErg costs $990, and it’s a useless coat rack if you don’t learn this sequence.
Last week, I was eating my pre-workout snack. I mixed exactly 1/2 cup of dry rolled oats with 2 tablespoons of creamy almond butter I picked up for $7.99 at Trader Joe’s. The sticky, thick texture of the butter practically glued my mouth shut, making me feel sluggish before I even got to the gym. The lesson there is to avoid heavy fats right before cardio. Anyway, I sat there watching people at my local gym butcher the rowing technique. They don’t use their legs at all. Your legs are massive hydraulic presses. The drive starts by pushing the hard plastic footboards away. Your arms stay perfectly straight. Think of your arms as stiff meat hooks attaching your torso to the handle. Once your legs are nearly straight, your torso pivots back from an 11 o’clock position to a 1 o’clock position. Only then do your arms pull the handle to your lower chest, right below your sternum. Keep a loose grip. Let the legs do the heavy lifting.
2. Stop Chasing Split Times And Learn What /500m Means

Your split time is the large number displayed right in the center of the monitor. It says /500m next to it. This tells you exactly how long it takes you to row 500 meters at your current pace. It’s exactly like your minute-per-mile pace in running. Beginners usually sit around 2:30 to 3:00 per 500 meters. Experienced rowers pull a 2:00 or less. If you don’t understand this number, you won’t be able to pace your workouts properly.
I remember my first time trying to hold a 1:45 split. Three years ago, I bought a cold, sweating 32 oz bottle of Smartwater for $2.29 at Whole Foods. The condensation dripped all over my shirt as I walked into the gym. I strapped in, set the monitor, and just ripped the handle as hard as humanly possible. I lasted exactly forty seconds before I was gasping for air. The sharp, metallic tang of blood in the back of my throat was intense. I couldn’t maintain the pace because I didn’t understand pacing. You can’t just pull harder to drop your split. You’ve got to pull more efficiently. If you’re doing a steady-state piece, find a split you can hold for twenty minutes without your form collapsing. For me, that’s currently a 2:05. Watch the digital numbers. If you see them jumping wildly from 2:10 to 2:40 and back, your stroke is completely inconsistent. You aren’t applying even pressure on the footboards. Focus on a smooth, aggressive push with the legs and watch the split time settle into a tight, consistent rhythm. You might also like: 10 Gym Bag Essentials You Need to See
3. Track Your Watts Instead Of Calories

Most people stare blindly at the calorie counter on cardio equipment. Skip it. Elite rowers and coaches track watts instead. Watts measure your direct, real-time power output. A 10-watt gain is always exactly a 10-watt gain, regardless of your body weight or the machine’s specific drag factor. It’s a linear, universal metric. When I started tracking watts, my programming finally made sense. Beginners typically produce 100 to 150 watts during a steady-state row. If you hit the Units button on your monitor twice, it switches the display from /500m to Watts. I do this every single time I sit down. You might also like: 15 Clever Garage Home Workout Ideas That Are Totally Worth It
Last month, I was preparing for a brutal 5K row. I bought a cheap $4.88 roll of white athletic tape at Walmart to wrap a nasty blister on my ring finger. The cheap adhesive stuck to my finger hair and stung sharply when I eventually peeled it off. I aimed to hold exactly 180 watts the entire time. Tracking watts forces you to be honest. If your leg drive gets lazy, your watts drop instantly. You can’t fake power output. A calorie counter uses a generic algorithm based on an average human weight. Watts show you exactly how much physical work your muscles are doing right now. If you want to see actual progression week over week, write down your average watts after your session. Next week, try to hold five more watts. It’s that simple and that effective. You might also like: 10 Gym Poses For Men You Need to See
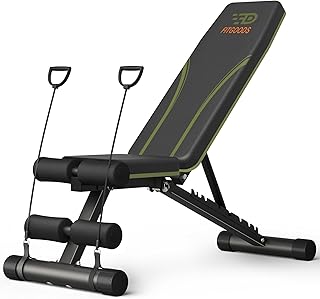
Fitgoods Adjustable Weight Bench for Home Gym
A dependable everyday pick — Fitgoods Adjustable Weight Bench for Home Gym pulls in 86 ratings at 4.5 stars. Not flashy, just solid.
4. Fix The Early Open On Your Drive

Peloton Row Instructor Alex Karwoski talks constantly about opening early during the drive. This is the most common power leak I see in the gym. Opening early means your shoulders lean back before your legs have finished pushing. You’re trying to use your smaller back muscles before your massive leg muscles are done working. It completely kills your power output and puts dangerous strain on your lower back. No exaggeration.
I used to do this constantly. I’d throw my shoulders back the second I caught the water. My lower back would ache for days afterward. I actually bought a hard, textured foam roller for $29.99 at Target just to iron out my stiff lumbar spine because I was rowing so poorly. To fix this early open, you’ve got to lock your core. When you start the drive, your shoulders must stay in front of your hips. Your arms stay totally straight. You’re just pushing the sliding seat backward with your legs. Imagine you’re doing a heavy leg press machine. You wouldn’t throw your head back to move the heavy sled. You’d brace your core and push hard with your quads and glutes. The rowing stroke is exactly the same concept. Keep your chest hovering over your knees until the handle physically passes your shins. Then you pivot backward. It feels awkward and unnatural at first, but your watt output will spike once you figure out how to transfer the leg power properly.
5. Stop Bending Your Knees Too Early On The Recovery

The recovery is the forward phase of the stroke. It’s supposed to be your brief moment to breathe and relax. Instead, people rush it aggressively. The absolute biggest mistake is bending your knees before your hands have cleared them. This causes the plastic handle to physically smash into your kneecaps. You end up doing this awkward little rainbow motion with your hands just to get the handle over your rising legs.
I did this for an entire winter. I had faint, tender purple bruises on the insides of my knees. Last winter, I went to Sprouts and bought an $11.49 tube of Boiron Arnicare gel. The cold, medicinal-smelling clear gel stung when I rubbed it on my bruised joints. The fix for this is strict sequencing. When you finish the stroke with the handle touching your chest, punch your arms straight out first. Let the handle travel away from your body. Once your arms are locked straight, pivot your torso forward from the hips. Now your hands are safely past your knees. Only then do you let your knees bend and slide the seat forward. It’s a mechanical, three-step process. Arms away, body over, slide. If you do it right, the metal chain stays perfectly level. You won’t hear it slapping loudly against the plastic housing. A level chain means you aren’t wasting precious energy lifting the handle up and down.
6. Get A Real Chest Strap For Your Rowing Machine Workout

Wrist-based fitness trackers are terrible for tracking a rowing machine workout. The constant, repetitive flexion of your wrists and the tight grip on the handle severely restrict blood flow. This totally confuses the tiny optical sensor on the back of your watch. I’ve looked down at my Apple Watch during a max-effort sprint and seen a heart rate of 82 BPM. It’s useless, frustrating data. Trust me on this.
If you want to train in specific heart rate zones, you need a dedicated chest strap. I use the Polar H9. It costs exactly $59.95. It connects via Bluetooth directly to the monitor, so your real-time heart rate shows up right on the digital screen. I’ve used this specific strap for two years now. Last Sunday at Costco, I ripped open a stiff cardboard blister pack of CR2025 lithium batteries for $14.99 because the sensor died. My old chest strap had a gross, crusty layer of dried white salt from old sweat on the elastic band. You’ve got to wash them regularly. When you have a chest strap, you can actually do proper Zone 2 steady-state training. You row at a controlled pace that keeps your heart rate strictly between 130 and 140 BPM. You can’t guess this feeling. You need the chest strap to keep you honest and prevent you from pushing too hard.

FLYBIRD WB2 Weight Bench
If you want something that just works, FLYBIRD WB2 Weight Bench is a safe bet (215 reviews, 4.5 stars).
7. The 20-Minute HIIT Protocol

High-Intensity Interval Training on a rower is completely brutal. It’s also the fastest way to burn calories if you’re short on time and willing to suffer. I like to do eight 1-minute work intervals followed by 30-second recovery periods. During the 1-minute sprint, you want your stroke rate between 24 and 30 Strokes Per Minute. You pull as hard as you mechanically can. During the 30-second rest, you drop to 16 SPM and just barely move the handle to keep the blood flowing.
I tried this exact protocol on a premium WaterRower I tested last month. The base wooden model costs $1,298. The loud, aggressive swishing sound of the water tank is deafening when you’re pulling 30 SPM. By the sixth interval, my lungs were burning violently. Last Friday, after a similar session, I mixed a $34.99 tub of chalky vanilla Optimum Nutrition whey protein I bought at Kroger. The smell of the artificial vanilla powder made my stomach turn, and I almost threw up in the sink. That’s the exact level of intensity you need for true HIIT. It’s not a casual paddle while watching a podcast. The 30 seconds of rest feel like five seconds. You’re gasping, the salty sweat is stinging your eyes, and then you have to drive your heavy legs again. Include a five-minute warm-up and a three-minute cool-down, and you’re done in twenty minutes.
8. Disconnect Stroke Rate From Your Actual Intensity

Strokes Per Minute is just your tempo. It’s not your intensity. Olympian and coach Luke Walton preaches this constantly. You can row at a slow 18 SPM and generate massive power, or you can row at a frantic 35 SPM and generate zero power if you’re just sliding back and forth without pushing. Most people confuse moving fast with working hard.
I see guys at the gym crank the damper setting to 10, row at 32 SPM, and they look like they’re having a seizure on the machine. They aren’t actually pulling hard. The damper setting on the side of the fan isn’t a resistance knob. It controls airflow. A setting of 3 to 5 mimics the smooth drag of a sleek racing shell on the water. I keep mine at exactly 4. If you break your monitor doing this, a Concept2 PM5 monitor replacement costs $180, so treat the machine with respect. Last Friday, I did a dedicated power workout. I held a slow, agonizing 20 SPM, but I drove my legs so hard on every single stroke that I spiked my watts to 350. The plastic fan makes a deep, ripping sound when you apply real torque at a low stroke rate. It’s incredibly exhausting. Focus on a low, controlled stroke rate. 18 to 24 SPM is perfect. Build your raw power there before you ever try to row fast.
9. Combine Rowing With Dumbbell Circuits

Sitting on an erg for forty straight minutes can get incredibly boring. The hard plastic seat starts to dig painfully into your sit bones after about twenty minutes. You can buy a soft $20 ergonomic memory foam seat cushion on Amazon to help, but I prefer to break up the monotony by mixing rowing directly with strength movements. It prevents muscle imbalances and keeps your heart rate elevated the entire time.
My go-to circuit involves one minute of alternating dumbbell lunges using heavy 35-pound hex bells, one minute of strict push-ups, and then a three-minute row at 70 percent of my max heart rate. I repeat that block five times. I did this yesterday in my hot garage. The physical transition from heavy lunges directly onto the sliding seat of the rower makes your quads feel like they’re filled with wet cement. You’ve got to force yourself mentally to maintain the strict legs-core-arms sequence even when you’re highly fatigued. It’s so easy to get sloppy and start pulling with your shoulders when your legs are fried from the weighted lunges. Don’t do it. Drop your split time, lower your watts, but keep the form strict. This kind of hybrid session burns a massive amount of calories and builds dense, functional muscle without keeping you strapped into the foot stretchers for an hour straight.
Rowing is a deeply humbling exercise. It quickly exposes weak legs, a weak core, and bad cardiovascular endurance all at the exact same time. But once you lock in the mechanics, it’s the most efficient piece of equipment in the entire gym. I highly recommend spending your first ten sessions just staring at the monitor, tracking your watts, and keeping your stroke rate low until the sequence feels natural. If you found this breakdown helpful, pin this article to your fitness board for your next gym session. Let’s get to work.
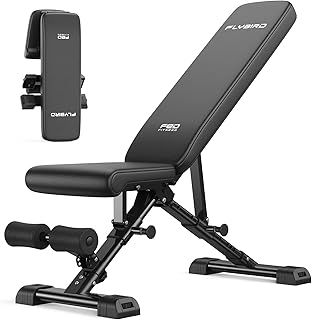
FLYBIRD WB5 Weight Bench
A dependable everyday pick — FLYBIRD WB5 Weight Bench pulls in 259 ratings at 4.5 stars. Not flashy, just solid.
Frequently Asked Questions
What is the correct form for a rowing machine workout?
The correct sequence is legs, core, then arms on the drive. Push with your legs first, pivot your torso back, and finally pull the handle to your chest. On the recovery, reverse it: arms extend, core pivots forward, then knees bend.
What does split time mean on a rower?
Split time, shown as /500m on the monitor, indicates how long it takes you to row 500 meters at your current pace. Beginners typically aim for a 2:30 to 3:00 split, while advanced rowers pull 2:00 or faster.
Why should I track watts instead of calories?
Watts measure your actual, real-time power output linearly. Unlike calorie counters that use generic algorithms, watts show exactly how much physical work your muscles are doing, making it the most accurate metric for tracking progress.
What damper setting should I use on a Concept2?
Keep the damper setting between 3 and 5 for most workouts. This mimics the natural drag of a boat on water. Higher settings do not mean a better workout; they just change the airflow and feel of the pull.
