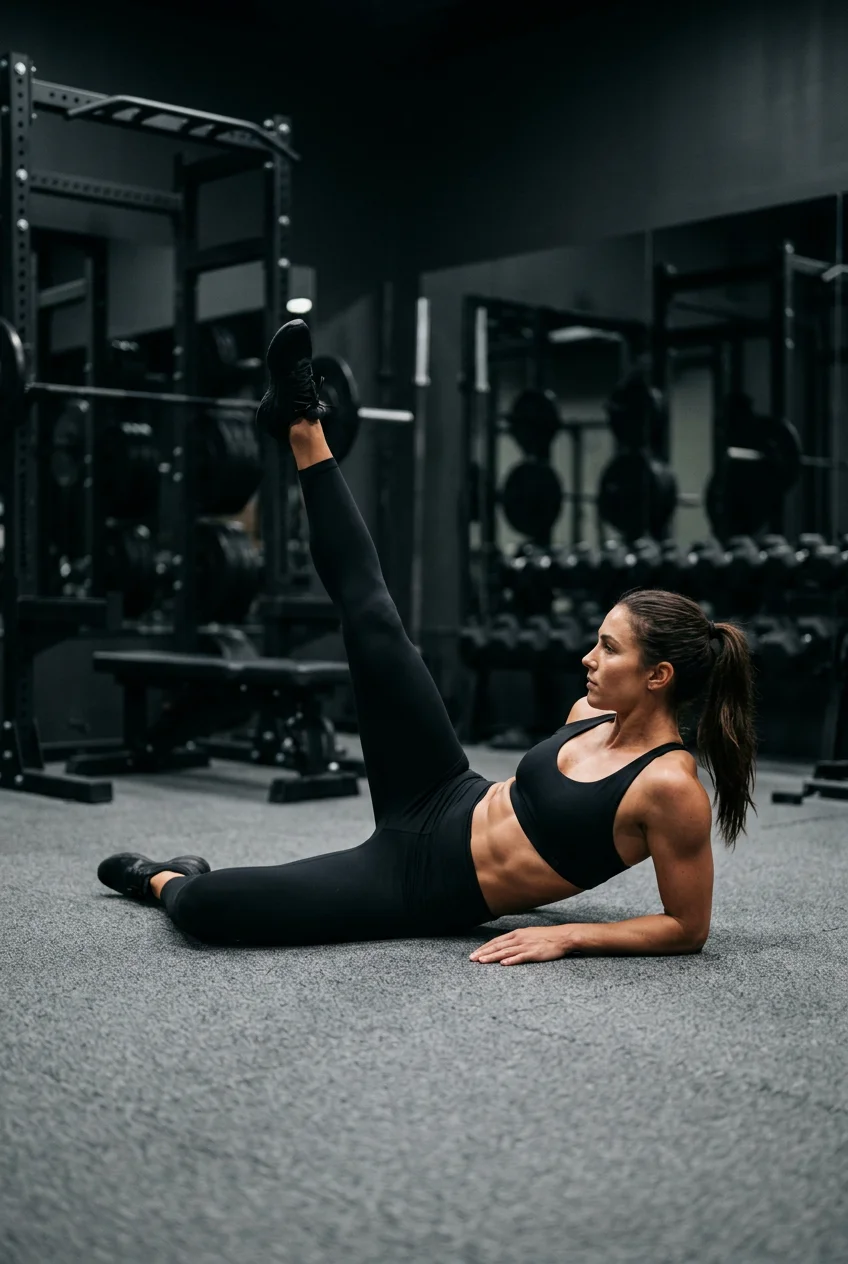
What’s Inside
- Prioritize Standing Unilateral Movements for Your Side Glute Workout
- Master the Side Plank with Hip Abduction
- Swap Latex for Fabric Resistance Bands
- Utilize Ankle Weights for Targeted Isolation
- Combat Glute Amnesia with Pre-Activation Drills
- Focus on the Eccentric Phase During Your Side Glute Workout
- Incorporate Internal Rotation for Side-Lying Abduction
- Fuel Your Recovery with Proper Nutrition and Hydration
Last Tuesday at the Target on 4th Street, I dropped a 40-pound bag of Purina dog food right onto the cold concrete. My right hip gave out. That embarrassing parking lot fumble forced me to rethink my entire side glute workout approach. The heavy plastic bag slipped through my sweaty hands, hitting the ground with a loud, hollow smack that echoed across the parking lot. A woman loading organic groceries into her silver Subaru definitely judged me. My hip joint throbbed with a dull, pinching ache. I was deadlifting 315 pounds twice a week but ignoring my lateral stability entirely. My gluteus medius was basically asleep. You can’t build functional lower body strength if your stabilizing muscles are weak.
I spent the next six months testing different methods to fix this specific weakness. I tried floor routines that did nothing. I wasted money on cheap gear that snapped. I finally figured out what actually forces these stubborn muscles to grow. This guide breaks down what worked for me. You need specific angles and the right tension to fix glute amnesia. Let’s look at the exact movements and gear that fixed my hip stability. Took me years to figure out.
1. Prioritize Standing Unilateral Movements for Your Side Glute Workout

I’ve spent years doing endless clamshells on my living room floor. My hip bones would grind into the thin carpet. It hurt, and it didn’t build any actual standing strength. I learned that the hard way. Pete McCall, a certified strength and conditioning specialist, points out that standing exercises provide much greater nervous system input. This happens because your foot interacts directly with the ground. You’re forcing your brain to balance your entire body weight on one leg. This creates superior muscle engagement compared to lying down.
I switched to single-leg Romanian deadlifts last October. I bought a CAP Barbell 25-pound cast iron kettlebell for $29.99 at Walmart specifically for this. The rough, black powder coating tears up my calluses a bit, but the grip is solid. Holding that heavy iron weight in one hand while hinging forward forces my standing side glute to fire up instantly to keep my pelvis level. If you aren’t doing standing unilateral work, you’re missing out on serious strength gains.
Aim for 3 sets of 8 to 12 repetitions per leg. Keep your knee slightly bent. Press your big toe firmly into the floor. You’ll feel a deep, burning contraction right behind your hip bone. I tried doing these barefoot at first, but my arch cramped. Now I wear flat-soled lifting shoes. Specifically, I wear Converse Chuck Taylors that cost $65. The flat, hard rubber sole provides a perfectly stable base. The stability makes a huge difference. Don’t rush the movement. Focus on the stretch at the bottom.
2. Master the Side Plank with Hip Abduction

Research shows that the side plank with hip abduction recruits the gluteus medius better than almost anything else. Clinical studies record an impressive 103 percent maximum voluntary isometric contraction in the bottom leg. The lifted leg hits 88 percent. I didn’t believe these numbers until I tried it. The first time I attempted this movement, my bottom hip sagged toward the floor within five seconds. My shoulder joint took all the pressure. It felt like someone was driving a nail into my rotator cuff. I was doing it completely wrong.
You have to actively push the floor away with your bottom forearm and your bottom knee or foot. Make sure your elbow is stacked directly underneath your shoulder joint. If your elbow is too far out, you’ll tear up your rotator cuff. I highly recommend using a thick mat for this. I use a Manduka PRO Yoga Mat. It’s 6 millimeters thick and costs $138. The dense rubber provides enough cushion for my forearm so my elbow bone doesn’t ache.
Perform 3 sets. You can either hold the static position for 30 to 60 seconds per side, or do 10 to 15 controlled lifting repetitions with the top leg. If you’re doing the repetitions, lift your top heel toward the ceiling. Don’t let your toe point up. That shifts the work to your hip flexors. I’ve found that adding a light resistance band around my thighs makes the top leg work twice as hard. My hips usually shake violently by the tenth repetition. It’s a brutal exercise, but it builds incredible lateral stability.
3. Swap Latex for Fabric Resistance Bands

I used to buy those cheap, thin latex bands from the fitness aisle at Kroger. They cost about $8 for a pack of three. They were terrible. Every time I did a lateral band walk, the thin rubber would roll up into a tight string. It pinched my leg hair and left angry red welts on my thighs. Sometimes they’d snap loudly against my skin. I threw them all in the trash last winter. You might also like: 10 Gym Motivation Wallpaper for Every Budget
Fabric resistance bands are the standard for 2026, and for good reason. They grip your clothing. They don’t roll. They provide consistent, heavy tension. I use the Mark Bell Sling Shot Hip Circle. The medium tension version costs exactly $22.50. The thick, woven fabric feels heavy and durable in your hands. It has two rubber strips on the inside that stick to your shorts. I wrap it right above my knees for lateral band walks. I do 3 sets of 15 to 20 repetitions in each direction. You might also like: 20 Gorgeous Easy Home Workout Ideas That Actually Work
You need to keep constant tension on the band. Don’t let your feet come completely together between steps. Keep them at least 12 inches apart. You’ll feel the outer edges of your glutes working immediately. Washing them is easy, too. I just throw my fabric bands in the washing machine on a cold cycle with my gym clothes and let them air dry. Don’t put them in the dryer or the internal rubber grips will melt. I’ve used my Sling Shot three times a week for a year, and it’s still as stiff as the day I bought it. You might also like: 15 Clever Garage Home Workout Ideas That Are Totally Worth It
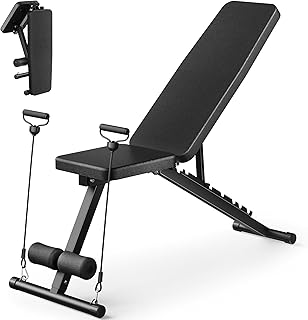
Adjustable Weight Bench for Home Gym
A dependable everyday pick — Adjustable Weight Bench for Home Gym pulls in 565 ratings at 4.5 stars. Not flashy, just solid.
4. Utilize Ankle Weights for Targeted Isolation

I spotted a dusty box of ankle weights near the vitamin section at Sprouts last year. I laughed at first. I thought they were just an outdated fitness fad from the eighties. I was completely wrong. Adjustable ankle weights are incredibly effective for isolating the smaller muscles in your hips. I bought a pair of Sportneer adjustable ankle weights for $29.99 on Amazon instead. They come with five removable sandbags per ankle. The neoprene material feels smooth against my skin, but the thick velcro strap is a bit stiff and scratchy if you don’t line it up perfectly.
I use these specifically for side-lying leg lifts and fire hydrants. Strap the weights directly above your ankle bone. If you strap them too high on your calf, they slide down during the movement and chafe your skin. Make sure the velcro is pulled extremely tight. Beginners should start very light. Use just 1 or 2 pounds per ankle. Your gluteus medius is a small muscle. It doesn’t need 50 pounds to grow.
I started with 2 pounds and my hips were sore for three days. You should gradually increase the weight by 1 pound every two to three weeks. I currently use 4 pounds per ankle. I perform 3 sets of 15 to 20 repetitions. The long lever of your leg makes a 4-pound weight feel like 20 pounds by the end of the set. Don’t swing your leg to build momentum. Move slowly. Pause at the top of the movement for a full second. You’ll feel a sharp, localized fatigue right in the upper corner of your hip.
5. Combat Glute Amnesia with Pre-Activation Drills

Most people sit at a desk for eight hours a day. This causes a condition called glute amnesia. Your hip flexors get incredibly tight, and your glute muscles literally forget how to contract. I dealt with this for years. I’d go straight from my office chair to the squat rack. My lower back would take over the entire movement because my hips were asleep. You have to wake these muscles up before you lift heavy weights.
I perform specific activation drills before every single lower body session. I usually drink 8 ounces of water mixed with a scoop of Garden of Life pre-workout that I buy for $28.99 at Whole Foods. The Blackberry Cherry flavor is incredibly tart. It wakes me up instantly. I mix it vigorously, but there is always a little bit of residue at the bottom of my cup. While I wait for the caffeine to kick in, I grab a light resistance band. I use the yellow Perform Better mini band. It’s a light latex micro band that costs $3.50.
I do 1 to 2 sets of 10 to 15 repetitions of banded monster walks. I place the thin band around my ankles. I take wide, diagonal steps forward and backward. This low-intensity movement forces blood into the gluteus medius and maximus. It literally warms the tissue up. You’ll feel a mild, dull ache in your hips. This isn’t meant to cause muscle failure. It’s just a neurological wake-up call. If I skip this five-minute routine, my knees cave inward during heavy lunges. Taking the time to activate these muscles prevents painful compensatory movements.
6. Focus on the Eccentric Phase During Your Side Glute Workout

Chasing a muscle burn doesn’t always guarantee muscle growth. You need a strong mind-muscle connection to ensure the target muscle is actually doing the mechanical work. I struggled with this concept early on. I used to rush through my exercises just to get them over with. I’d drop the weight quickly and bounce out of the bottom position. I wasn’t controlling the eccentric phase.
The eccentric phase is the lowering portion of the movement. This is where the muscle lengthens under tension. It’s also where the most muscle damage and subsequent growth occurs. If you’re doing side-lying hip abductions, the lifting part is only half the battle. You need to consciously squeeze your gluteus medius at the top of the movement. Then, control the lowering phase for a full 2 to 3 seconds. Fight the gravity. I count out loud. One, two, three. It feels agonizingly slow.
I tried this technique with a 10-pound CAP Barbell rubber-coated hex dumbbell that cost $14.99 at Dick’s Sporting Goods resting on my outer thigh. The slow eccentric lowering completely changed the exercise. My hips were trembling by the sixth repetition. You can’t use momentum when you move this slowly. Don’t hold your breath while you count. Inhale deeply through your nose as you lower the weight. Exhale sharply through your mouth as you lift it. Holding your breath just spikes your blood pressure and makes you dizzy. Next time you train, cut your normal speed in half. You won’t be able to do as many repetitions, but the quality of the work will double.

NICEPEOPLE Adjustable Weight Bench for Home Gym
NICEPEOPLE Adjustable Weight Bench for Home Gym has been one of the most consistently praised picks in this category. 33 reviewers averaged 4.5/5.
7. Incorporate Internal Rotation for Side-Lying Abduction

Here is a technical adjustment that completely altered my training. A 2020 systematic review by Moore and colleagues highlighted a very specific biomechanical trick. If you perform side-lying hip abduction with your leg biased into internal rotation, you significantly enhance gluteus medius activation. Internal rotation simply means pointing your toes slightly downward toward the floor.
I tried this adjustment last month. I lay on my side on my living room floor. I rested my head on a firm Lululemon Double Roller that cost $58. I lifted my top leg, but instead of keeping my foot parallel to the ground, I tilted my big toe down about 45 degrees. The difference in muscle engagement was immediate and intense. It isolated the exact upper quadrant of my hip. You’ll feel a deep, cramping sensation right in the meaty part of your upper glute. If you feel it in your lower back, you’re twisting your spine. Keep your core braced tight like someone is about to punch you in the stomach.
Most people naturally let their toes point upward toward the ceiling when they lift their leg. This external rotation shifts the workload away from the glutes and onto the hip flexors and the tensor fasciae latae. That’s a common mistake I see all the time. People complain that their front hip area hurts during side leg lifts. It’s because their foot angle is wrong. You have to actively fight the urge to point your toes up. Keep your heel higher than your toes throughout the entire range of motion. Just rotate the femur bone inside the hip socket. It feels awkward at first. Your range of motion will decrease. That’s perfectly fine.
8. Fuel Your Recovery with Proper Nutrition and Hydration

You can’t build strong stabilizing muscles if you don’t feed them properly after you train. I used to finish a heavy leg session and eat a bowl of cereal. My muscles stayed sore for four days, and I wasn’t getting any stronger. Your gluteus medius requires adequate protein to repair the micro-tears you create during those slow eccentric repetitions.
I buy Optimum Nutrition Gold Standard Whey protein powder. A 2-pound tub costs $44.99. I prefer the Extreme Milk Chocolate flavor. I mix one exact scoop, which is 31 grams of powder, with 12 ounces of unsweetened vanilla almond milk. I buy the almond milk in bulk at Costco. A six-pack of the Kirkland Signature brand costs around $8.99. I shake it up in a plastic BlenderBottle right after my workout. If you don’t shake it hard enough for at least thirty seconds, you get dry, gritty clumps of powder at the bottom. It tastes terrible when that happens. Skip the fat-free stuff. It tastes like wet cardboard. I try to drink this shake within thirty minutes of finishing my workout. I keep the powder in a dry, dark pantry because humidity ruins it.
I also make sure I’m drinking enough water. I carry a 64-ounce Yeti Rambler jug that cost me $130. It’s heavy and dents easily if you drop it, but it keeps my water ice-cold for 24 hours. Hydrated muscle tissue recovers faster and contracts more efficiently. If your urine is dark yellow, your muscles are dehydrated. You won’t perform well during those heavy unilateral deadlifts if you’re chronically under-hydrated. Prioritize your protein intake and drink your water.
Building a resilient lower body takes time. You won’t fix weak hips in a single week. I spent months doing the wrong exercises before I finally understood the mechanics of lateral stability. Implementing these specific movements completely eliminated my hip pain during heavy squats. If I had to pick just one thing for you to start doing today, I’d choose the side plank with hip abduction. Buy a thick mat, grab a quality fabric resistance band, and start waking those muscles up. Your knees and lower back will thank you. Save this page to your browser bookmarks so you can reference the exact repetition ranges during your next gym session. Pin the image at the top of this article to your fitness boards on Pinterest so you don’t lose these specific form cues. Share this article with your workout partner so you can hold each other accountable on leg day. Trust the process, slow down your repetitions, and put in the focused work. Trust me on this.
Frequently Asked Questions
How often should I do a side glute workout?
You should train your side glutes two to three times per week. Allow at least 48 hours of rest between sessions so the gluteus medius muscle fibers can fully recover and grow.
Are resistance bands or ankle weights better for side glutes?
Both serve different purposes. Fabric resistance bands are excellent for standing lateral walks and maintaining constant tension. Ankle weights are better for isolating the muscle during slow, side-lying leg raises.
Why do my hip flexors hurt during side leg lifts?
You’re likely pointing your toes toward the ceiling. This external rotation shifts the load away from your glutes. Point your toes slightly downward to internally rotate your leg and target the gluteus medius.
Can I build side glutes without heavy gym equipment?
Yes. You can build significant lateral strength at home using a thick yoga mat, a $20 fabric resistance band, and a cheap pair of adjustable ankle weights. Focus on slow, controlled repetitions.
